HOME | DD
 CastShadowsStudio — Green Man Light Switch Plate

Published: 2014-03-21 03:35:37 +0000 UTC; Views: 1040; Favourites: 0; Downloads: 0
Redirect to original
Description
Lets See if You can Find anything WRONG in the photo!I Just Finished some of these today, Vintage Bronze finish that has the look of worn gilded bronze/iron.
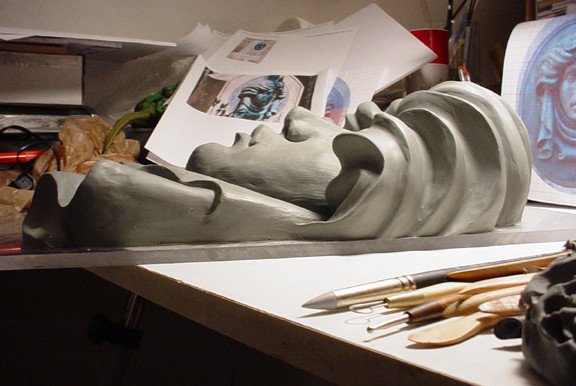
This started off as a Sculpey test and I liked so much I made a mold and then cast some.
I plan on reworking the design slightly to give more clearance to the toggle when the switch is in the ON position.
Yes the switch is upside down!
Related content






Comments: 3

I thought the switch looked funny somehow- but aside from that, you did an amazing job.
How did you get that finish? Is this all sculpey? I was thinking of making a mache helmet, and using sculpey for details, but I don't know how to get that metal finish.
👍: 0 ⏩: 1

This Green Man is a cast made from Hydrocal/resin mix.
To get this type of finish you need a smooth surface, then I used red auto primer, when that dries buff it with a paper towel to make smooth again.
Next spray with air hose to clean/dust off then spray with a metallic paint...Gold for this one.
Let the metallic paint dry until the next day.
Then comes the harder part, use craft store acrylic paints that come in small bottles and only cost around $1.00-$2.50.
Mix a small amount Black with Raw Umber say 50/50 and add some Satin Finish clear sealer to that, 25%. The idea is to give the mixture some translucence,
I use basic hardware hog bristle brushes, the cheap kind, that you can get in 1/2 inch, 1 1/2, 2 1/2 sizes.
When you put the acrylic paint mixture over the metallic paint it will bead up at first, The hog bristle brush helps the paint stay where you want it to by scrubbing the surface a bit, but not too much. Put enough paint on to cover the surface, but use the brush to move it around, then take a paper towel and wipe off most of the paint. Now quickly spread what paint is left on the surface around with the brush wiped clean and dry. Wipe off again with towel, spread around what paint is still left. I do this in stages and will let it dry for an hour between layers, most times it take 2 or 3 layers to get the results I looking for.
The idea is to have a very thin layer of paint over the metallic, I also wipe the areas I want highlighted down to the metallic layer. So I use my brush to remove paint more then I use it to add.
This technique is basically glazing and wiping. I plan on making a video at some point to show some processes that I use.
You might try using LaDoll paper clay for your details. Hope this was helpful!
👍: 0 ⏩: 1
This was very helpful- thanks. You have a lot of knowledge of technique, and it shows in your work. I can imagine I can try some of this in the future if I get the chance. I am sure if you made vids, it would be a great way to advertise your product and- if you get enough viewers, you can get paid from youtube. I came into mache from youtube- watching a guy who labelled his channel- Stolloween.
👍: 0 ⏩: 0