HOME | DD
 LastHowl — Werewolf Tutorial 6

Published: 2005-02-21 01:11:29 +0000 UTC; Views: 811; Favourites: 12; Downloads: 38
Redirect to original
Description
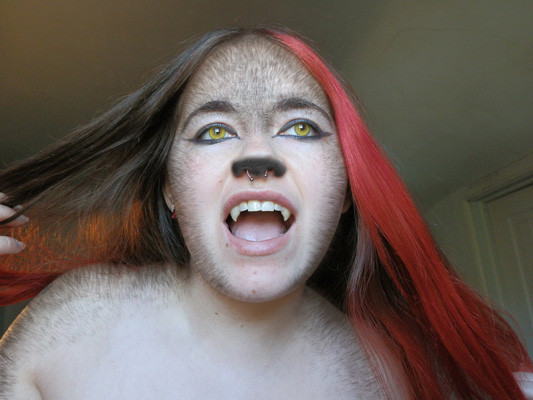
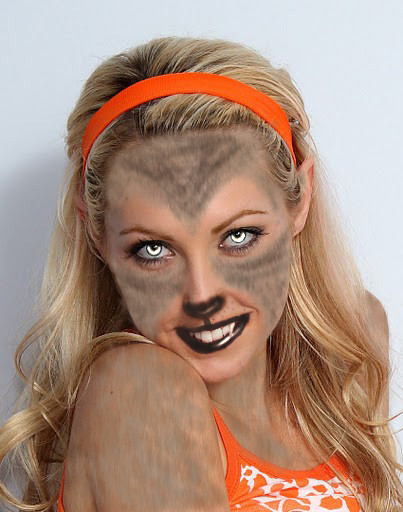
Step 6: Fur!------------
Only one thing in this step, but it's the most time-consuming part
of the picture to get right. You're creating hair, and depending on
your tastes you may well be creating a whole hell of a lot of it.
Figuring out how hair flows can take some practice, as this is
almost entirely hand-drawn stuff.
Still, there are some steps that you can take that help you along
the way.
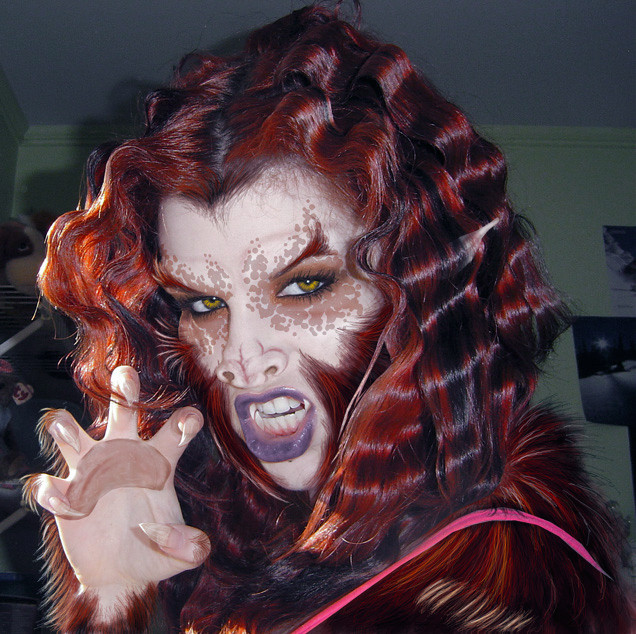
In this example, I started with a 39-pixel diffusion brush. Working
at ten-percent opacity, I roughed out the shape of the cheek tufts.
Think in terms of fanning and imagine it all radiating from a single
point on the cheek.
After the general shape was there, I refined it using the 14-pixel
diffusion brush, followed by the one-pixel brush. As before, get
your highlights and shadows defined even at the darkest levels.
If the area of fur is large enough, you can do some of the
intermediary shades of hair using the 14-pixel diffusion brush. It
saves time, and looks fairly realistic. Still, once you get down to
your lightest shades, you're going to be using the one-pixel again
and doing it hair-by-hair. Work with the shapes you've started to
define in the darker colors and apply them to the lighter ones.
Never put a light color directly on a dark one.
It's very tedious, but you'll be glad you did the work when you see
how it turns out.